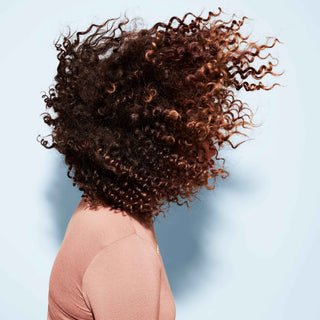
On your curly hair journey? We know it can come with a lot of, well, twists and turns.
The good news is that you don’t need a long, complicated routine to achieve healthy, shiny, defined curls. What you do need is a good understanding of your hair type and a few hard-working products that will bring out its best.
This curly hair wash day routine keeps it simple—and just might unlock your most gorgeous curls yet.

Step 0: Know your hair type
Not all curls are created equal—so for starters, you’ll want to learn about your hair type.
Your hair type is determined by its texture (aka curl pattern), structure (fine, medium, coarse), porosity (low, medium, high) and how much moisture your scalp needs. We break down how to identify each of these in this handy guide.
Prefer to just skip to the good part? Take our quiz, tell us a few things about your hair and we’ll show you the products that will get along with it best!
Step 1: Cleanse (or deep-cleanse)
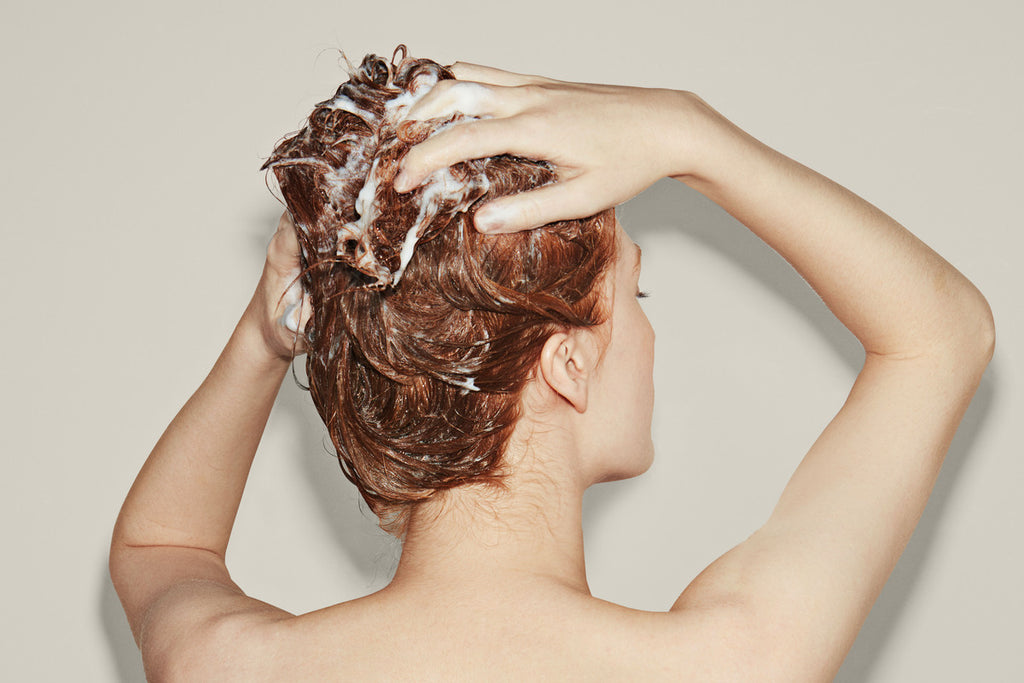
A good cleanse will set you up for wash day success—allowing your hair to absorb all the moisture and other goodness from your products.
Stick with a sulfate-free shampoo to avoid stripping too much moisture out of your curls (dryness invites frizz and breakage). Here are our favorites for curly hair types:
- Curl Defining No-Lather Shampoo: The hydrating formula gently removes buildup without stripping your hair dry, making it a solid choice for most curls.
- Moisture Repair Shampoo: Our most intensely hydrating shampoo is perfect for those with very dry or damaged strands.
- Clarifying Shampoo: This weekly shampoo works wonders on product buildup. It’s strong enough to reset your hair and scalp but gentle enough not to strip everything dry—a good choice if you’re prone to oiliness or find that your hair never feels clean enough after you wash it.
Step 2: Condition and detangle
Conditioning is a must—it loads moisture back into your strands and helps to boost your natural curl pattern. The key is to saturate the lengths of your hair and use your hands or a wide-tooth comb to ensure the conditioner coats every strand. Your fingers should glide easily through your hair, making it a great time to detangle (which will also help separate and define your curls).
When it comes to conditioners, your best match will depend on how thick your strands are and how much moisture they need. Our Curl Defining Conditioner and Moisture Repair Conditioner are common curl picks, but our product quiz can point you to your best match.
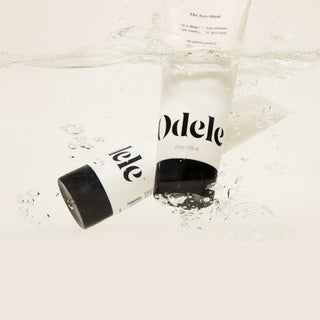
For dry, damaged hair that needs a deeper dose of healing, our five-minute Moisture Mask is a game-changer (seriously, you want this in your life).
Step 3: Hydrate
Once your wash routine is complete, it’s time to lock in lasting hydration with Leave-in Conditioner.
After showering, gently squeeze excess water out of your hair. To maximize moisture (and minimize frizz if you’re not a fan), you’ll want to apply your leave-in products while your hair is still damp, but not dripping wet. Work the product evenly through your hair and scrunch toward the root to bring out your natural curls.
Step 4: Define
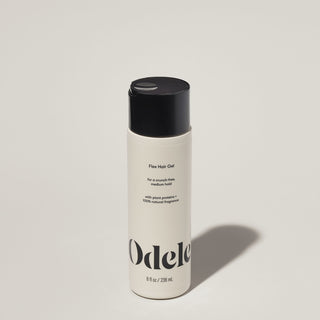
We’re big fans of using styling gel to help curls last as long as possible but not big fans of how stiff and drying some of them can be. That’s why we formulated our Flex Hair Gel to provide a crunch-free, flexible hold and flake-free finish—it’s chef’s kiss.
Rub a small amount of the gel between your palms to emulsify it, then gently smooth it into your still-damp hair. Scrunch and shake your strands to get your desired definition and shape.

Step 5: Dry
After scrunching all your styling products into your hair, you can leave it to air dry totally on its own or use a little trick called the ‘plopping’ method to speed things up.
How to plop your curls:
- Grab a cotton t-shirt or microfiber towel and lay it on a flat surface.
- Flip your head forward like you’re about to do the “Martha Washington" in the pool (or “George Washington,” depending on who you ask). Your hair should be on top of your (semi-upside down) head and centered on the shirt.
- Take the fabric that’s behind your head and flip it over your neck, tying the sleeves over it into a knot. Re-adjust upright and tie the sleeves in another knot in the front to secure. Here’s a step-by-step guide with photos that may come in handy.
To keep your curls defined and frizz-free, avoid the traditional towel twist or anything that will create too much friction.
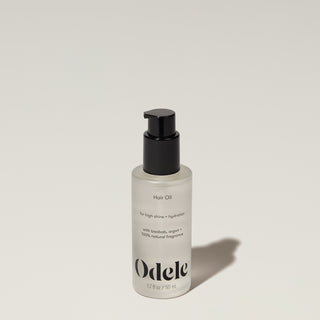
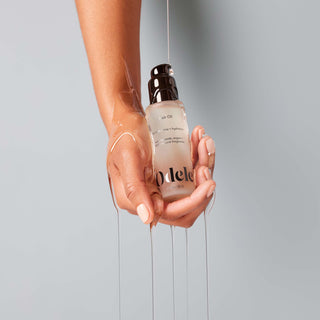
Once your hair is fully dry, run a little Hair Oil through to seal any flyaways and add an extra dose of shine!

